Craft Ideas: The Art of Making Your Own Candles – Made Easy
Share
There’s something truly special about making something with your own hands—watching a simple idea turn into something beautiful, something uniquely yours. That’s the magic of DIY. And when it comes to crafts, few things are as rewarding as making your own candles.
Think about it—candles instantly change the mood of a space. They bring warmth, calm, and that little touch of magic to any room. Now, imagine lighting a candle that you made, with a scent you love and colors that match your vibe. Pretty amazing, right? Well, guess what? Making candles at home is easier than you think, and I’m here to guide you through it, step by step!
But before we dive in, let’s get one thing straight—safety first, always! Working with hot wax and fragrances can be fun, but it's important to follow best practices. I’ll share some key safety tips along the way, so you can create beautiful, safe-to-use candles without any worries.
Why Candle-Making is the Ultimate DIY Craft Idea
If you love getting creative with crafts, candle-making is a must-try. Here’s why:
✿ It’s surprisingly easy – You don’t need a fancy setup, just a few basic supplies.
✿ It’s customisable – You control the colour, scent, and shape. The possibilities are endless!
✿ It makes the perfect gift – Handmade gifts always feel more special.
✿ It can turn into a small business – If you fall in love with it (which you might!), you can even sell your creations.
So, whether you’re looking for a new hobby, a thoughtful DIY gift idea, or maybe even a side hustle, candle-making is the way to go!
What You’ll Need to Get Started
Before we start, let’s make sure you have all the essentials:
✿ Wax – Soy wax, beeswax, or paraffin wax (soy wax is a great eco-friendly option)
✿ Wicks – Choose the right size for your container
✿ Fragrance Oils or Essential Oils – Think lavender, vanilla, citrus, or whatever makes you happy
✿ Candle Dye or Natural Colouring – For a beautiful pop of colour
✿ Containers or Moulds – Glass jars, tins, or fun silicone moulds
✿ Double Boiler or Melting Pot – To safely melt the wax
✿ Stirring Stick – A wooden skewer or spoon works great
✿ Glue Dots or Wick Holders – To keep your wick in place
💡 Pro Tip
Always check the manufacturer’s guide for your specific wax. Each type has different melting points, fragrance load capacities, and pouring temperatures. This information is usually available on their website and is key to getting the best results!
Step-by-Step Guide to Making Your Own Candles
Step 1: Melt Your Wax (Slow & Steady Wins the Race!)
Fill your double boiler with wax and heat it slowly over low to medium heat. Stir occasionally to help it melt evenly. If you’re using soy wax, it will fully melt at around 120-140°F (48-60°C).
🚨 Safety Tip
Never melt wax directly on a stovetop! Always use a double boiler or a wax-melting pot to prevent overheating or fire hazards.
Step 2: Add Your Fragrance & Colour
Once the wax is completely melted, remove it from the heat and let it cool slightly. This is where the magic happens! Add your fragrance oil (usually 6-10% of the wax volume) and a few drops of dye if you want a coloured candle. Stir well to mix.
💡 Important
If the wax is too hot, the fragrance will burn off before it even sets. Always follow the manufacturer’s recommended temperature for adding scents to maximise their throw!
Step 3: Prep Your Wick & Container
Place a glue dot at the bottom of your wick and stick it to the centre of your jar or mould. Use a chopstick or a wick holder to keep it upright.
Step 4: Pour the Wax
Carefully pour the wax into your container, leaving a little space at the top. Hold the wick in place as you pour to keep it centred.
💡 Pro Tip
Pouring at the right temperature prevents cracks and sinkholes. Each wax type has an ideal pouring temperature—so check the manufacturer’s guide!
Step 5: Let It Set & Trim the Wick
Let your candle cool and harden for at least 24 hours before touching it. Avoid moving it while it sets to prevent imperfections. Once fully hardened, trim the wick to about ¼ inch—and you’re done!
Safety First: Decorating Your Candles Without the Fire Hazard
We all love aesthetic candles with dried flowers, herbs, and cute little decorations. But here’s the truth: putting dried botanicals inside the wax is a fire hazard!
✿ Instead of placing flowers or herbs inside the wax, try these safe alternatives:
✿ Candle-safe mica powders for a shimmering effect
✿ Pressed dried flowers on the outside of a glass jar (so they don’t touch the flame)
✿ Non-flammable decals and embellishments for a decorative touch
A pretty candle is great, but a safe one is even better!
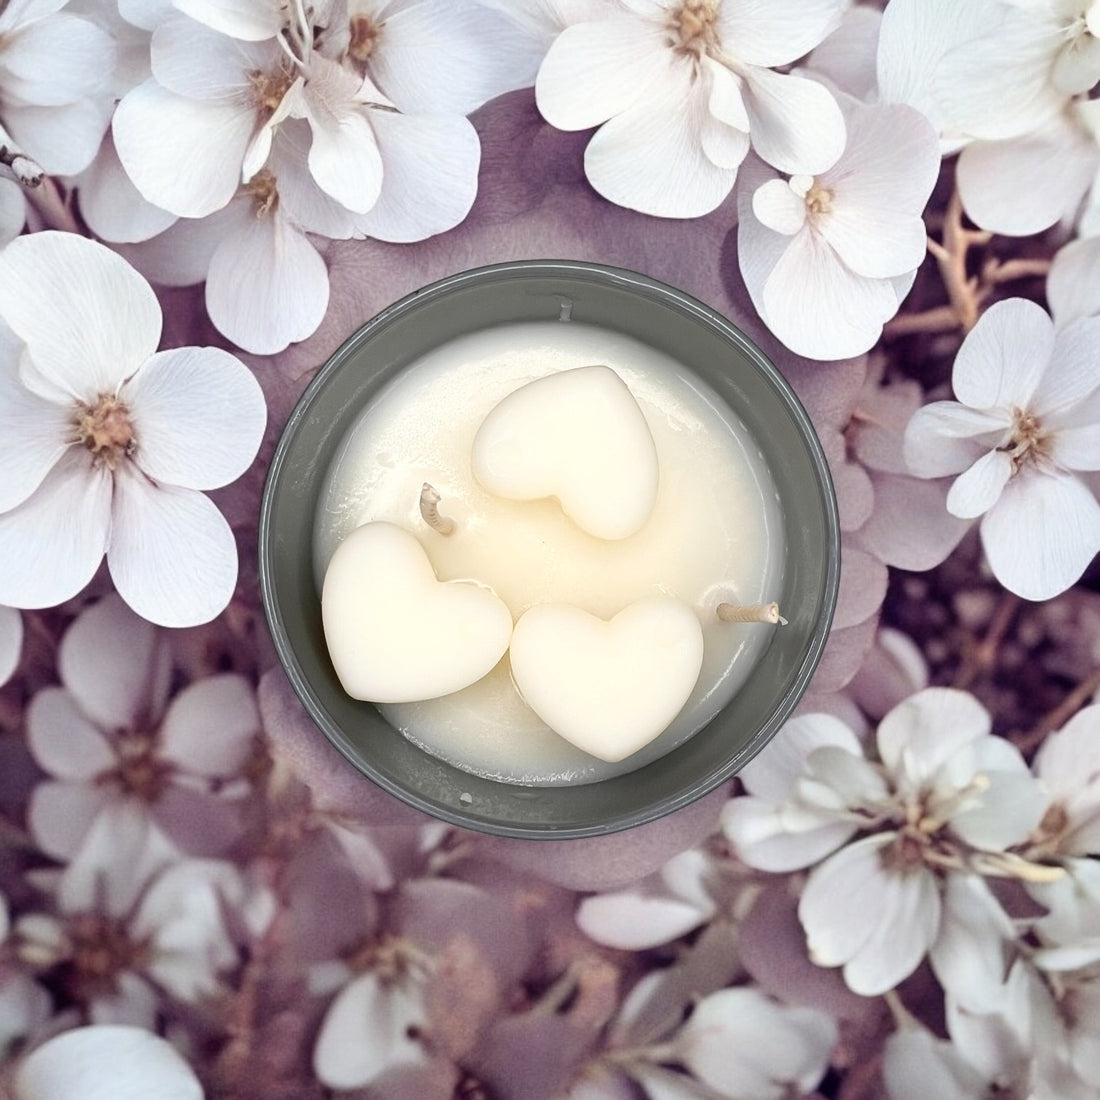
Fun & Creative Candle-Making Ideas
Feeling adventurous? Here are some fun twists on classic candle-making:
✿ Layered Candles – Pour different coloured layers and let each set before adding the next.
✿ Marbled Effect – Swirl two colours together for a dreamy design.
✿ Scent Combinations – Mix fragrances like citrus & mint, lavender & chamomile, or vanilla & cinnamon for a signature scent.
Why You Should Try Candle-Making Today
Candle-making isn’t just about wax and wicks—it’s about creating something meaningful. Whether it’s a way to relax, a personalized gift for a friend, or even the start of your own small business, this craft is rewarding in so many ways.
And if you’re thinking, “This sounds amazing, but I don’t have time for DIY…” don’t worry—we’ve got you covered!
At Nakyazze, we create beautifully handcrafted, high-quality candles that bring warmth and elegance into any space. Whether you’re looking for a cozy scent for your home or a thoughtful gift for someone special, we’ve got something just for you.
✨ Check out our artisanal candle collection here: Nakyazze Candles